Exercises to Stay in Shape And Healthy While Traveling
Finding the right time and physical space to exercise can seem more challenging than ever when you’re on-the-go. If you don’t have access to any weights or cardio equipment, there are plenty of bodyweight exercises that you can do in the comfort of your own hotel room. All you need is yourself and a CLX resistance band that easily fits inside your suitcase to work out while traveling.
Exercise can help. It’s an opportunity to stretch, move, breathe and unwind during busy and often stressful times. But with limited time and space during travel, the exercises you choose matter. They should be comfortable, accessible and low-maintenance. They should also help you reverse any uncomfortable sustained sitting positions and energize you by promoting movement and circulation.
From breathwork to calm the mind and body to full-body exercises to activate multiple muscle groups, there are plenty of do-anywhere exercises available to meet your needs. Here are some movements to try while traveling to help keep you feeling good inside and out.
The 20 – minute hotel room workout
1. Bodyweight squats
 |
| Photo: Healthline |
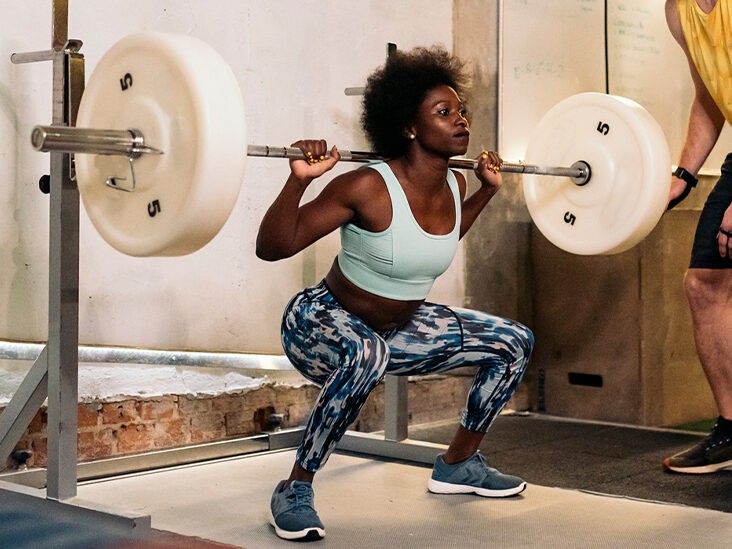
Your main focus should be on how you lower yourself down, plain and simple. Get in the right mindset by following these steps from Samuel to learn how do bodyweight squats the right way.
Set Your Stance to Squat
Start by getting into a comfortable standing position, standing with your feet a bit wider than shoulder-width apart and your toes pointing out at a comfortable angle. This exact position won't be the same for everyone, so don't worry if you find yourself moving your stance slightly in or out. Just make sure you can stand and move comfortably without losing your balance.
Solidify Your Upper Body Before Squatting
As much as the bodyweight squat is a lower body-focused movement, you can't forget about the waist up. Samuel says to "organize your upper body," meaning your abs should be tight, shoulders rolled back, and your gaze straight ahead. One of the most important cues is to keep your chest upright. As Samuel notes, you're not looking to bend over—so core engagement is paramount. "The thing that separates a squat from any sort of hinge motion is going to be that [the] chest is somewhat upright," he says. Maintaining engagement in your core and shoulders is important for this.
Squat Butt First
One of the most common squatting mistakes is bending at the knees first. You'll put yourself in a poor position if you do that, especially once you begin to progress the movement—so take Samuel's advice and start bending at the butt. "Think about pushing back ever so slightly with [the] butt first," Samuel says. "Start with that motion because it's critical and that's the only way you're gonna squat right." Once you've shifted back with your rear, bend your knees to continue your descent. As you bend your knees, squeeze your glutes to open them up, and shift your hands forward to counteract and imbalance that might throw you out of your stance.
How Low Should You Bodyweight Squat?
One of the most persistent debates in fitness has to do with squat depth. This argument is more commonly contended by barbell back squatters—but that doesn't mean you're out of line for asking how deep you should squat without any load. Samuel says the best depth is when your butt is just lower than your knees. Just because you hit depth doesn't mean you should relax, though; keep your whole body engaged even "in the hole" (a.k.a. the bottom position of the squat). That goes double for your glutes. One of the biggest bodyweight squat mistakes is allowing your knees to cave in. Keeping your glutes engaged will help you avoid that error. Press through the ground with your feet and and extend your hips to stand to finish the movement.
How Should You Use Bodyweight Squats in a Workout?
While the bodyweight squat isn't the most glamorous or complicated of exercises, it is one of the most versatile. Samuel advises using bodyweight squats as a warmup for leg day workouts that feature loaded variations of the exercise, or even as part of an interval session that will push yourself to complete reps in predetermined work and rest periods. If you're looking for more involved workout, check out this 25-minute bodyweight challenge or this tough count-up series.
2. Incline push-ups
 |
| Photo: MARCA |
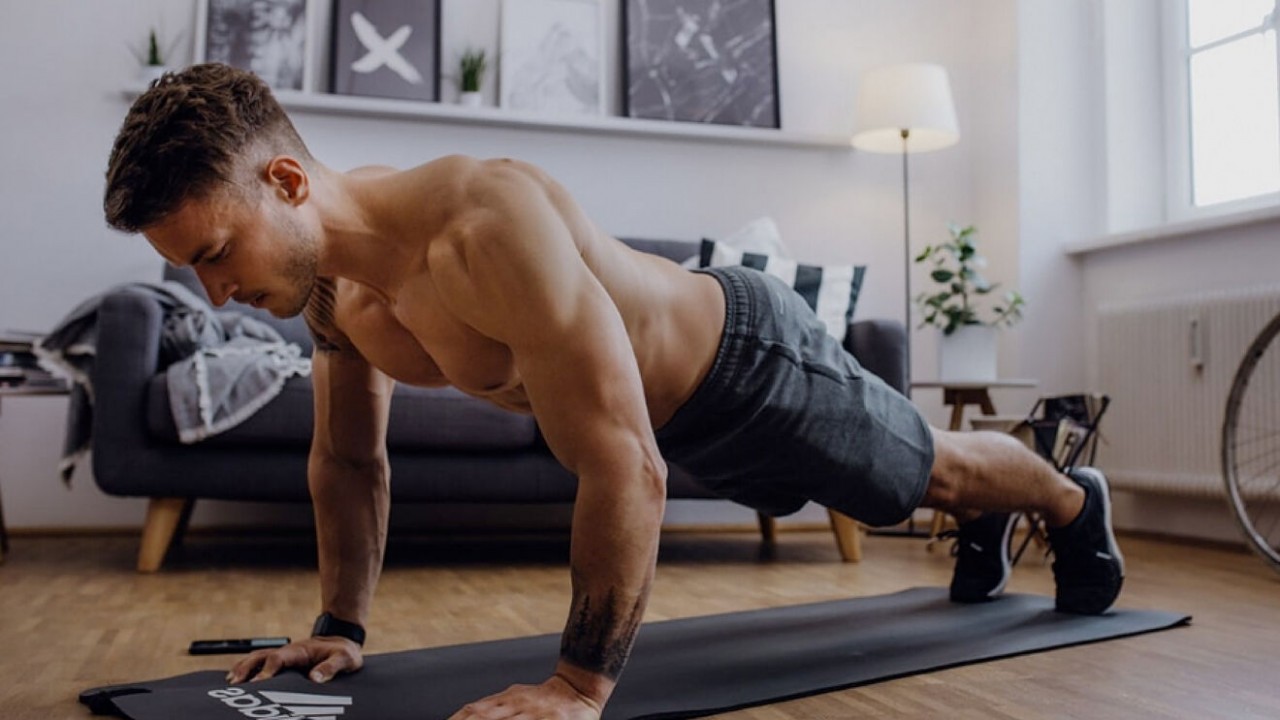
An incline pushup is an elevated form of a traditional pushup. Your upper body is elevated with an exercise box or other piece of equipment.
You may find incline pushups to be a step up from your normal routine. The incline position primarily works your chest muscles, but you’ll also need to engage your core muscles to protect your back.
While traditional pushups work your chest, arms, and shoulders, incline pushups take some of the pressure off your arms and shoulders to give you a solid chest workout.
The key to incline pushups is to make sure that your body is in a straight line while you’re in plank position. One common mistake is setting yourself up too close to the box, which can cause your back to arch.
You’ll also want to make sure that you perform this exercise on a sturdy surface and away from objects that can slide underneath you. An ideal setup is having an exercise box on rubber workout flooring.
Consider nonslip pads or rubber or foam tiles if you’re using equipment at home.
To perform an incline pushup:
1.Stand in front of your box or bench, then squat or bend down and place both hands on either side of it with your fingers pointing forward. Your hands should be about shoulder-width apart. If you need a wider piece of equipment to safely elevate yourself, don’t be shy about swapping it out.
2.Once your hands are in the right position, step your body back into a plank position, one leg at a time. Make sure your body is in a straight line, your head is aligned with your spine, and that your lower back isn’t sagging before continuing. Looking a few inches ahead of you, rather than down at the box, can help keep your body straight.
3.Next, bend your arms to help you slowly lower your chest toward the box. Straighten your arms to bring yourself back up into a straight line.
4.Repeat 10 times for 3 sets to start. You can increase the repetitions within each set as you get stronger.
3. One-arm luggage rows
 |
| Photo: Christian Finn |
- Muscles Worked: Arms, Back, Shoulders
- Difficulty: Easy
- Equipment needed: Sandbag
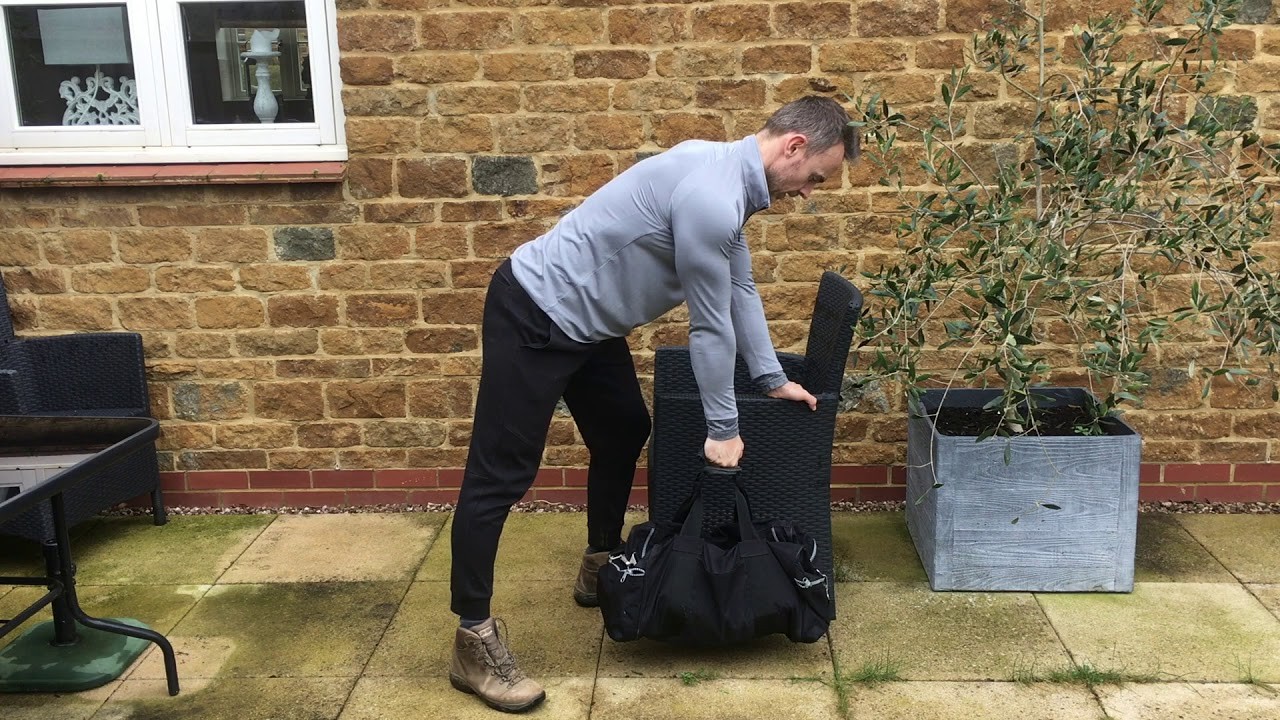
Stand with your feet shoulder-width apart and hold a sandbag in one hand. Soften your knees and bend forward, extending your arm and letting the sandbag hang towards the floor. Row the sandbag up to your side until your upper arm is parallel with the floor. Lower slowly back to the floor and repeat.
4. Reverse crunches
 |
| Photo: LiveStrongWoman |
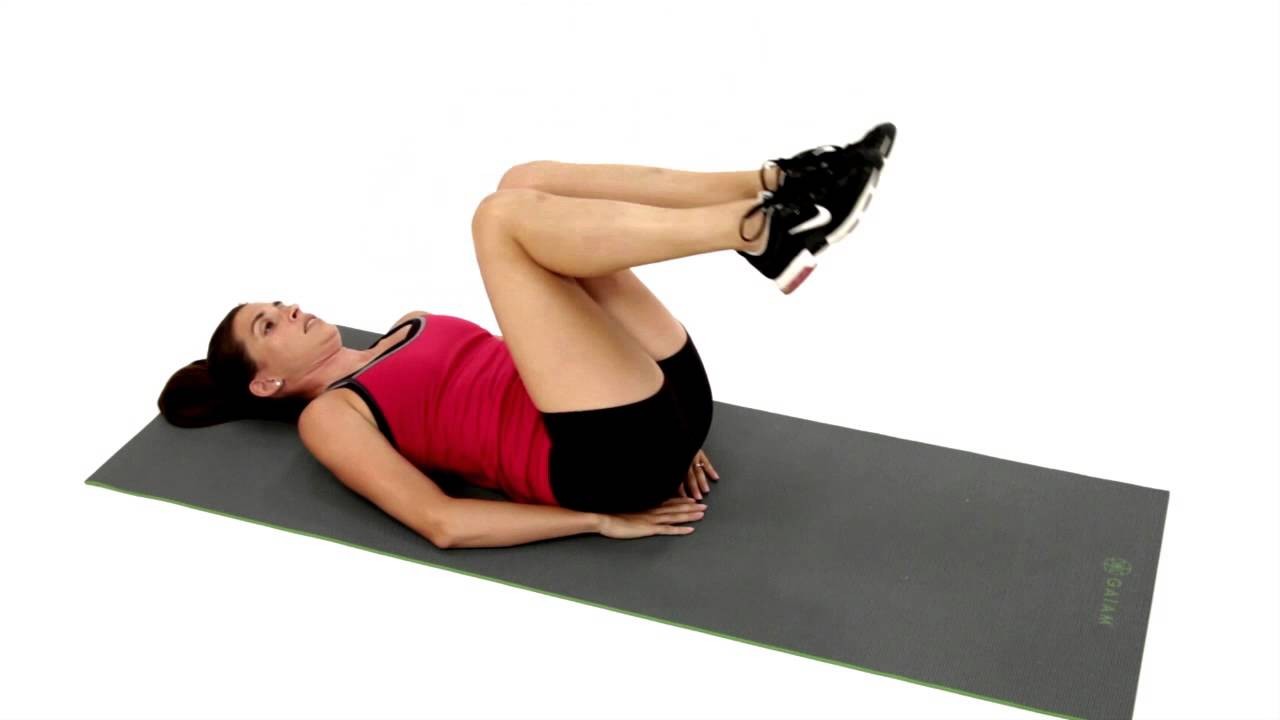
A reverse crunch offers many of the same benefits as the traditional crunch. However, because your neck and most of your back stays on the ground, it’s thought to be easier on your spine.
1.Lie face-up on a mat or other soft surface with your knees bent at 90 degrees and your feet flat on the floor. Keep your arms near your sides with your palms down.
2.Exhale and brace your core. Lift your feet off the ground and raise your thighs until they’re vertical. Keep your knees bent at 90 degrees throughout the movement.
3.Tuck your knees toward your face as far as you can comfortably go without lifting your mid-back from the mat. Your hips and lower back should lift off the ground.
4.Hold for a moment and slowly lower your feet back toward the floor until they reach the ground.
5.Repeat for at least 10-12 repetitions. Do one set to start, and increase the number of reps and sets as you get stronger.
Advanced bodyweight exercise circuit
1.One legged squats: 10 each side [warning super-difficult, only attempt if you’re in good enough shape].
2.Bodyweight Squats: 20 reps.
3.Walking Lunges: 20 reps (10 each leg).
4.Jump step-ups: 20 reps (10 each leg).
5.Pull-Ups: 10 reps [or inverted bodyweight rows].
6.Dips (between two chairs): 10 reps.
7.Chin-ups: 10 reps [this might be tough in a hotel room, so try an inverted bodyweight rows with underhand grip].
8.Push-Ups: 10 reps.
9.Plank: 30 seconds.
| Find Nearby Fitness Classes | Scope out fitness classes in the area that allow you to workout with others. This will help motivate you to attend and push through your workout. |
| Stay Hydrated | Make sure to keep a bottle of water with you while you’re traveling. It’ll keep you full, hydrated, and prevent you from snacking. |
| Pack Athletic Wear | Pack as much workout clothes as your other clothing to ensure you’ll have no excuse not to exercise. |
| Walk More | Take the stairs instead of the elevator at the hotel. Go for a morning walk before breakfast. Choose to walk to dinner if the restaurant is just a few blocks away. |
| Leave Room in Your Schedule | Leave room in your schedule to workout and never go more than 2 days in a row without exercising to maintain a consistent schedule. |
| Stretch to Improve Flexibility | Improve range of motion and flexibility with full body stretches before and after exercise. |
| Relieve Tension After Hours of Traveling | Sitting through long flights, riding in the car for several hours, or sleeping on a different mattress can cause muscles to tense up. Use on-the-go massage tools to help relieve sore muscles, stiff joints, and alleviate pain in the lower back and neck. |
| Avoid Sleepless Nights | Fight jet lag and sleep deprivation by heading to bed at a decent hour. Use a travel pillow to rest comfortably while in the car or on the plane. |
 | Post Covid-19 Physical Exercises: How To Exercise To Improve Your Health Exercise might be tough after being sick, especially in the Covid-19 case. Here is how you can exercise and improve your health for recovery. |
 | Top 15 Best Workout Songs To Boost Up Your Exercise Moods Doing exercise can be stressful sometimes, and science has proven that listening to music while working out can help easing the stress and boosting immune ... |
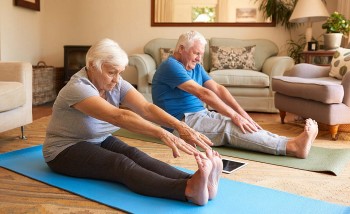 | Top Indoor Exercises to Stay Active for Men and Women While we keep our distance to stop the spread of Covid-19, staying active is critical for both our physical and mental health. |
Recommended
 Handbook
Vietnam Moves Up 8 Places In World Happiness Index
 Handbook
Travelling Vietnam Through French Artist's Children Book
 Multimedia
Vietnamese Turmeric Fish among Best Asian Dishes: TasteAtlas
 Handbook
From Lost to Found: German Tourist Thanks Vietnamese Police for Returning His Bag
Popular article
 Handbook
Prediction and Resolution for the Disasters of Humanity
 Handbook
16 French Films To Be Shown For Free During Tet Holiday In Vietnam
 Handbook
Unique Cultural and Religious Activities to Welcome Year of the Snake
 Handbook


